
WordPress websites can be connected directly with BLEND’s professional translation service using the WPML plugin.
Step 1: Install and Set Up WPML
If you haven’t already, install the WPML plugin on your WordPress website. You’ll need the Multilingual CMS or Multilingual Agency plan to enable professional translation services.
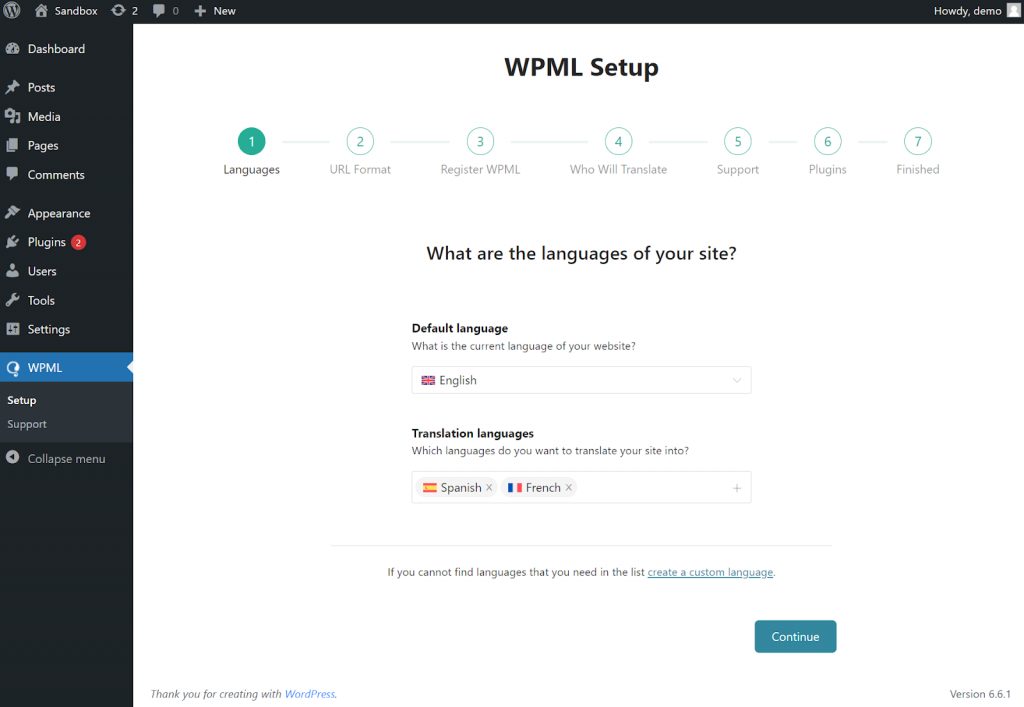
For new installs, WPML has a simple Setup Wizard where you can select your languages, add BLEND as a service and configure your language switcher.
Step 2: Activate and Configure the Translation Management Module
In WPML 4.7, Translation Management has been revamped to offer a more streamlined experience:
-
Navigate to WPML → Translation Management and follow the onboarding steps if it’s your first time.
-
Go to the Translators tab, search for BLEND, and click Activate.
Once BLEND is activated, you’ll be able to connect your WPML account to your BLEND account using your API token. Get your API keys by going into the Control Panel in your BLEND account and then enter the API keys into the WPML plugin.
Step 3: Select Content to Translate
Before starting a project, make sure you have enough credits in your BLEND account.
From the WPML Translation Management dashboard, you can select the content you want to send for translation—this includes pages, posts, custom post types, and now strings.
Use the filters and checkboxes to select exactly what you want translated.
💡 Note: If your site uses plugins like Advanced Custom Fields (ACF), WooCommerce or other tools to create or structure content, please ensure that relevant WPML add-ons are installed and activated. Sometimes these add-ons are required in order to correctly detect and extract content for translation, but this depends on your site setup.
Step 4: Send Content to BLEND
Once you’ve selected your content in the Translation Management dashboard, simply click on Assign translation service.
Your selected content will be sent directly to BLEND through the WPML API, with no extra steps required.
Step 5: Monitor Progress and Review Translations
After sending your content, you can track translation progress via the WPML Translations queue page or directly in your BLEND account (BLEND → Control Panel → My Projects).
Once translations are complete, they’ll be delivered back to your WordPress site and appear in the correct language versions.
Make sure to review the content on your live site to ensure everything looks and reads as expected.
A few things to keep in mind:
-
WPML is a third-party tool that BLEND integrates with. Therefore, any content that WPML recognizes can be sent directly to BLEND for translation without leaving WordPress. There may be cases where additional plugins must be installed (e.g., Advanced Custom Fields Multilingual plugin) for WPML to recognize the content.
-
In cases where WPML does not recognize the content, your content can still be translated via BLEND’s platform. Head to our Translation Wizard to submit your content for translation, and then manually import your translated content back to your WordPress site.
- You can check progress and communicate directly with your translators from your BLEND account
- Once a translation is finished, the target files will be sent to WordPress automatically. You can also manually fetch target files from your WordPress admin panel. To check your configuration, go to WPML → Settings, locate Translation Pickup mode and verify the selected option.
- Canceling a translation project that has already been submitted can be done only from the BLEND platform.
- We do not charge for API use or WPML integration. You only pay for the project itself.
Comments
0 comments
Please sign in to leave a comment.